Sorry for the wall of text – Jump to the technical bit
Pramble
tl;dr – I didn’t like the new MacBook Pros, bought a Dell and want to use Linux on it.
After a fairly unimpressive keynote at the October 2016 Apple “Hello Again” event, I chose to vote with my wallet and move away from Apple for the first time in about 8 years. Every phone, TV box, desktop, laptop, tablet (and one watch) that I have bought in those 8 years has been Apple. The increased price, the lack of (currently) useful ports, that gimmicky bar… and most importantly the underwhelming spec pushed me away. I bought a Dell XPS 13″ (Kabylake i7 7500u) with 16GB RAM, 512GB SSD, 4k touch screen… it was much higher spec than any affordable MacBook Pro and came in at a lovely £1350 from PC world.
One of the things that I have wanted to do for a while was to run Linux as my main operating system, to familiarise myself with it, and simply as a challenge. I use Linux (in both centOS and Ubuntu flavours) at work in virtual machines for running Hadoop Sandboxes and Docker hosts, as well as tinkering with Raspbian in my spare time on a few Raspberry Pis at home.
How not to do it
I dove right into things, found a tutorial on installing Linux beside windows, took it for gospel then ended up shit creek without a paddle. A wiped hard drive with two bootable memory keys that couldn’t see my hard drive and no operating system. After hours of fumbling around in the dark and remaking memory keys I managed to install Windows (albeit in legacy boot mode) but at least I didn’t own a dell brick. Deciding this wasn’t ideal and I wanted UEFI Boot mode to be enabled (I am certain that it’s faster, and it’s the more up to date way to boot anyway). After a bit of reading I discovered that in order to install in UEFI mode, you must make your USB UEFI mode bootable. After getting that working, I had to change a hard drive setting which meant another install. So if you are going to undertake this task, do you reading, make sure you know what’s what and prepare well.
Installing both operating systems.
Steps
- Download installation media iso files
- Prepare UEFI only bootable memory keys
- Setup BIOS – AHCI/SATA Mode (Not RAID)
- Install Windows 10
- Disable fast boot and hibernate in Windows
- Shrink drive partition
- Boot into Ubuntu Live CD – Leave shrunk partition area blank
- Install Ubuntu
Getting Started
1: Download Installation media iso files
First things first, prepare some installation media for the two operating systemms. I downloaded ISOs for Windows 10 (Home edition, as that’s what the laptop license is for) and Ubuntu 16.04 Desktop. On my windows machine (although there are clients for Windows, Mac and Linux)
Windows media can be found from your manufacturer’ website, MSDN, or microsoft. Ubuntu is download from here: http://releases.ubuntu.com/16.04/
2: Prepare UEFI only bootable memory keys
Once you have the files download, use a tool like Rufus to burn each of these to separate memory keys (incase you need to start again). I wanted to make sure that I wasn’t in legacy boot mode, so I made sure to select UEFI only for the boot type and not the mixed Legacy/UEFI boot mode. This way, if I accidentally left Legacy mode on, it wouldn’t show up.
I really underestimated how important having BIOS setup properly was to this whole thing, and went in fairly haphazard and changed whatever it took to get the laptop to boot.
3: Setup BIOS – AHCI/SAT Mode (Not RAID)
Make sure that your BIOS settings are correct, if like me, the hard drive is set to RAID and not AHCI/SATA and you have to change it, you will need to reinstall windows onto it, so make sure to do this before you start. I disabled legacy boot mode altogether as I didn’t want to make a mistake.
4: Install Windows 10
This bit is relatively simple, put in your Windows 10 USB and tap F12 while the computer starts up, you should get into a boot mode screen, select the USB Memory key (if it isn’t showing up, you probably have it set for a legacy install… go back and remake the key to only support UEFI). I deleted all partitions on my hard drive, because I was starting fresh here, thus Windows sorted out it’s own partitioning for me, this is the way I would recommend, so you are starting with a clean slate. Click through the install process, and make sure to install windows from scratch.
Once it is up and running you can either apply a load of updates or just proceed with the install. I would recommend just moving on, as if something goes wrong you might have to reinstall windows and all that time will be wasted.
5: Disable fast boot and hibernate
This is pretty simple. Just open up a command prompt and run the following
powercfg /h off That disables hibernate, and thus fast boot. This is because windows locks the hard drive and stores the contents of it’s RAM in the swap file when it hibernates, so it can boot quicker by ust copying the swap data back into memory and not have to load the kernel from disk again. This can cause issues with the hard disk being locked, and also if you alter a file on that drive from your other operating system, windows can think the drive is corrupt and barf.
6: Shrink Hard drive partition
This is nice and easy. Open up disk manager on windows (hit the windows key, type disk manager and it should pop up, sometimes it has a name like ‘manage drives and partitions’) in this tool, right click on your hard drive, select the size to shrink it to and hit go…. your windows partition will be reduced to whatever size you select and the rest of the drive will be left blank.
7: Boot into Ubuntu Live CD – Leave shrunk partition area blank
Shutdown your computer and insert the Ubuntu USB (remove the windows one too) hit your F12 button and boot it up again, keep tapping F12 until you see the boot menu again and then boot off the USB.
Once you are in the linux live CD.. don’t be tempted to format the unused space to ext4 like I was… the installer then sees the hard drive as full and only wants to wipe it all and install linux. If you leave the area you freed up by shrinking the windows partition unused, Ubuntu will ask if you want to install alongside windows, which is what you are after.
8: Install Ubuntu
Double click the Install Ubuntu app on the desktop, this will take Ubuntu you through the installer. When asked, click ‘Install Ubuntu alongside Windows’. I would recommend installing updates and third party software during the installation (which involves putting the laptop on the network, either wired or by entering the wifi details) and then let it run.
Once the install finishes when you reboot your laptop you will be greeted with a maroon screen, this is the bootloader, it allows you to select which operating sytem you want to run when the laptop starts up. Mine defaults to Ubuntu, with Windows being two lower down the list. I didn’t want to change that, but you might be able to.
Issues
So this isn’t perfect.. whether it is problems with Ubuntu itself, or just my laptop’s hardware compatibility with it, I have one major issue. I can’t suspend the laptop and then wake it up, either manually or by closing the lid when in Ubuntu mode. It seems to wake up, the keyboard lights up, but the screen remains blank. I have seen some reports of this being a generic issue with 16.04 but I can’t be sure.
Also the trackpad drivers don’t seem great for Ubuntu, sometimes the cursor skips all over the place, and sometimes it just starts randomly pasting text for no reason… but in general it works enough that I am happy to use it day to day.
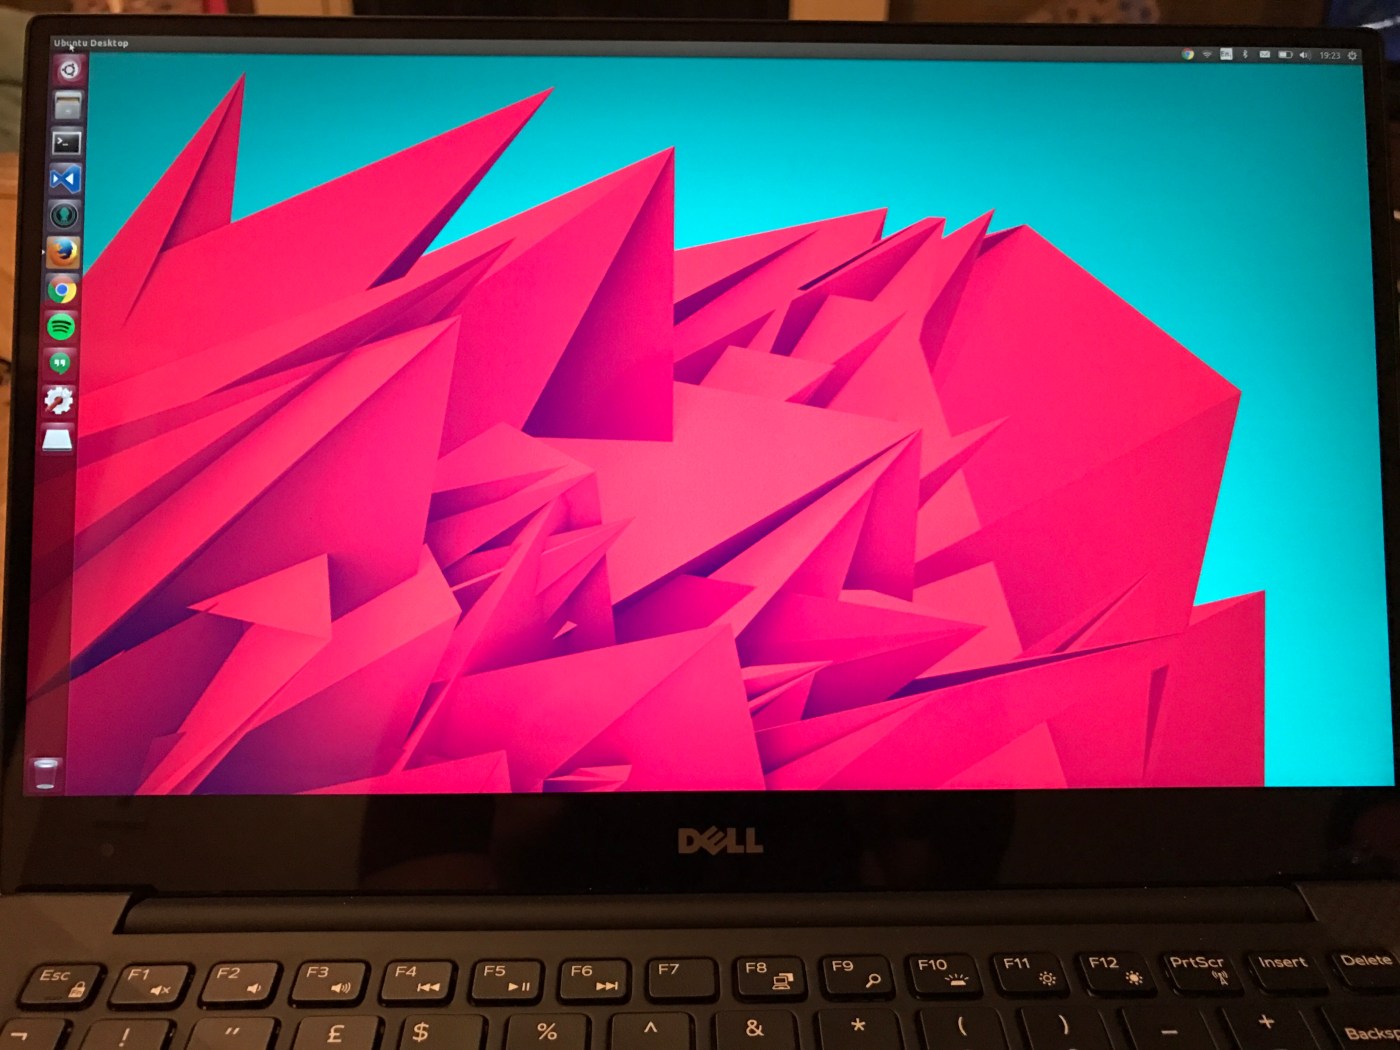
Also, as this laptop has a 4K screen, I turned scaling in Ubuntu to 1.5 to make things a bit easier to see.
Useful links..
These links are the ones that I used to help me get the install working:
http://askubuntu.com/questions/696413/ubuntu-installer-cant-find-any-disk-on-dell-xps-13-9350/696646
Shrink and install
Keep partition blank
http://www.everydaylinuxuser.com/2015/11/how-to-install-ubuntu-linux-alongside.html
